Showing posts with label SDS. Show all posts

Monday, December 24, 2012

Pirates! Part Three - My Crew


In Part One, we talked about setting up the table and some of the notions we set about with for our pirate game. In Part Two, we discussed the list of potential goals we would have as miniature pirates. In this portion, we'll address the goals and makeup of my crew.

I opted for five goals, the rules were that you rolled a D100 to determine each goal. If the result was 78 or less then you accepted that numbered goal from the list (we had 78 goals). If you rolled a 79 or higher, then you got to select any goal from the list. You cannot have the same goal twice, re-roll if this happens.

The goals I randomly acquired were:
1. Capture a rich citizen and trade him/her to the cannibals for the captured crewman.
2. Ensure that your gang of pirates kills a particular model in the other player’s party (randomly determine which one) to settle some score for a perceived slight against you.
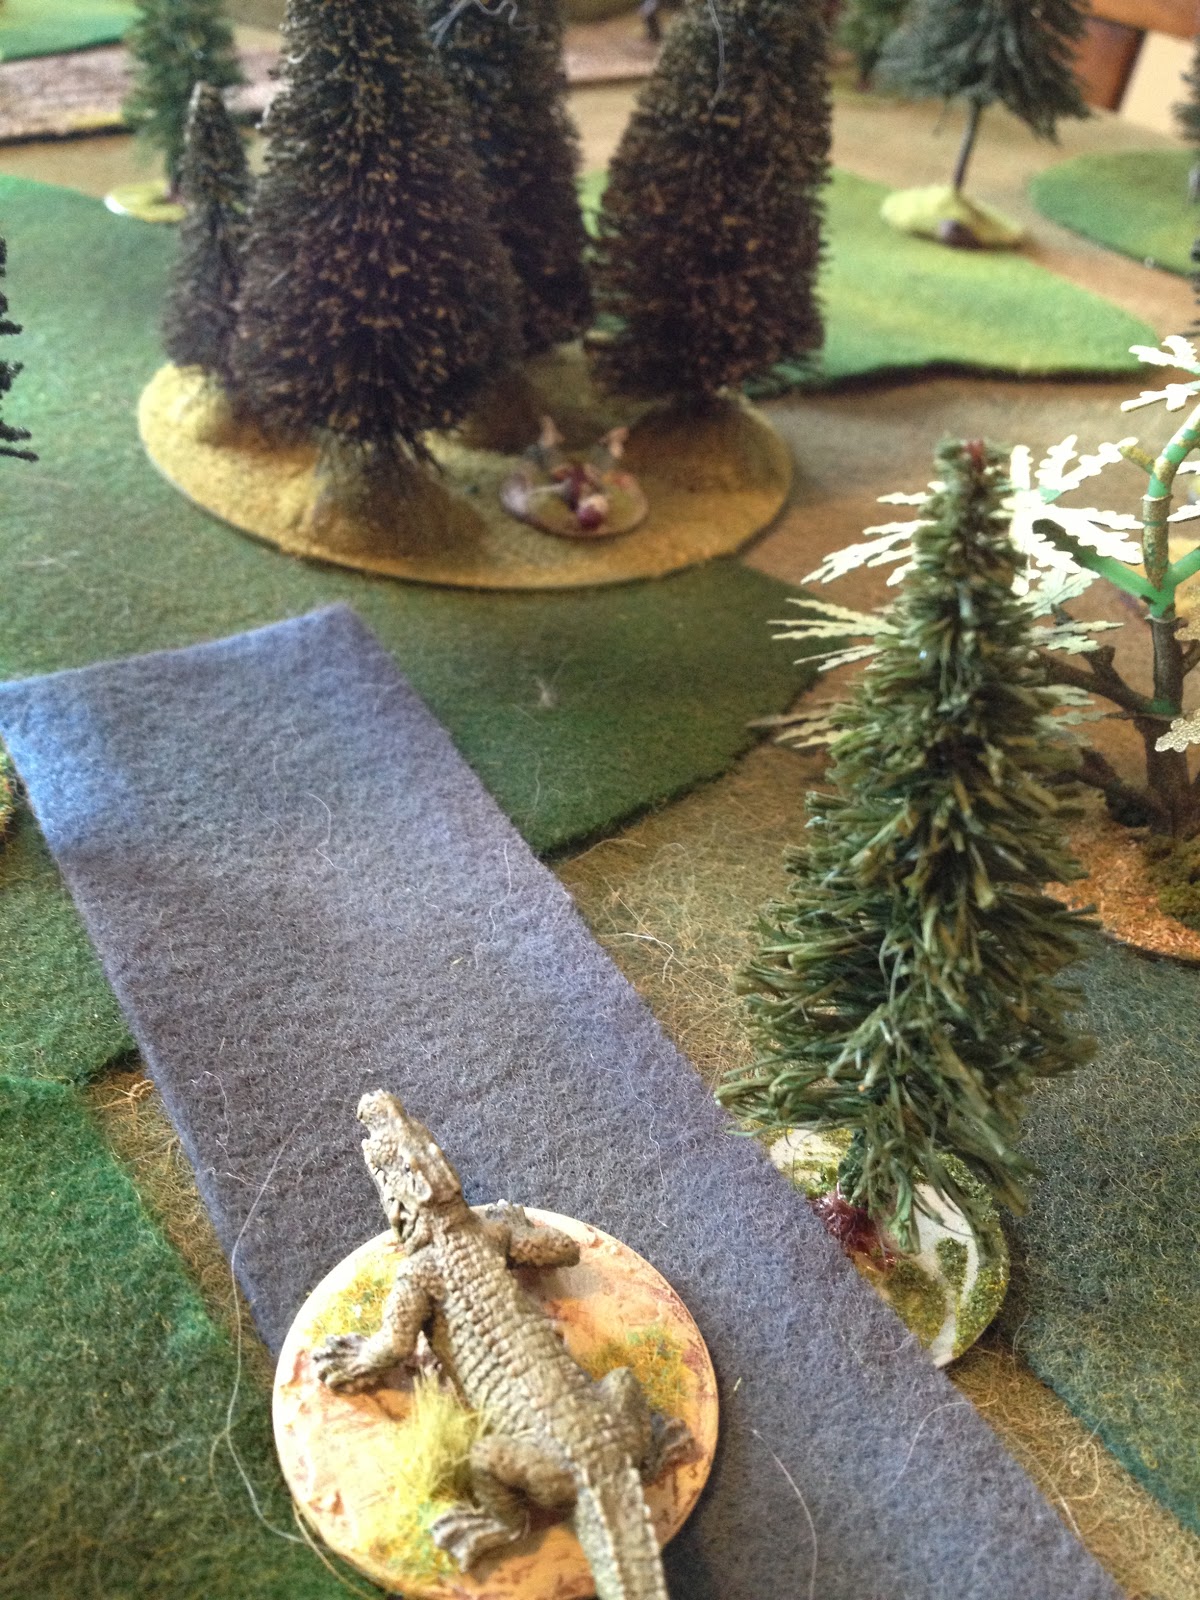
3. Burn the native hut.
4. Capture the wagon on the roadway and use it to sneak into town.

I was able to roll a 79 or higher on one occasion and selected this goal:
5. Blow up the merchant ship by exploding the powder in the ship’s magazine. The ship is armed with 4 guns, surely there is powder on the ship!

At this time, Matt rolled up his goals - both of us kept the goals a secret. What was fun, as we found out, was that we each shared one goal in common! We both acquired the "Capture the wagon on the roadway and use it to sneak into town." goal! This would lead to some furious combat between our two crews.

So, with my goal in place and 200 points to spend on my crew I began to define the band of nautical misfits that would see me to a successful conclusion of the evening's gaming. One interesting thing we did was rule that when equipping our crew, you MUST purchase the items seen on the model. So, if your model pirate has a musket and a sword then you must buy a musket and a sword. If he has a peg-leg, eye-patch and a parrot, the you must buy a peg-leg, eye-patch and a parrot! Disadvantages such as the peg-leg and the eye-patch give points back to you, so that helps. This was really fun as we tried to fit the models available to us into our points and our plans! Luckily, my pirate collection is good sized. 100+ miniatures of all types.

Let's begin with my leader, Marten Hubrect, a Dutchman seeking his fortune or his fate by "going on the account". I gave Marten a QUALITY rating of "2" and a COMBAT rating of "4", which make him a rather nasty character. Given a six-sided die roll for activations and a Quality of 2 only a result of a "1" is a failed activation. In battle his combat rating meant adding 4 to a six-sided combat die roll. In combat, with other assorted modifiers, you are trying to beat, double or triple your combat opponent's roll. So, a +4 is pretty terrific. Now, these ratings consumed 50 points of my 400 right off the bat. But solid leadership is essential in this game.

I then decorated Marten with various other skills and equipment to help him on the tabletop. I was obliged to purchase the LEADERSHIP skill so that he could help his mates with their activation. Also, I armed him with a SWORD and TWO-PISTOLS. To assist with his longevity, I gave him GREAT DEFENSE which is sort of a once-per-game saving roll designed to lessen a combat loss. Lastly, I gave him DASHING after all, Marten is dashing! This skill allows him to initiate melee on the same action that delivers him into contact with the enemy. This makes him more efficient all around and if there is an extra action available he can use it for a melee bonus instead of using it to get a round of combat in.

With 49 points spent, Marten has consumed 99 points, 49% of my total! I will have to be frugal on the remaining crew!

Trevelyan Hale, my English first-mate, was given a QUALITY of 4 and a COMBAT of 3. A good fighter, but pretty average on initiative - he'll need Marten's help with activation.  His extra outfitting were a PARROT, a PISTOL and a SWORD. The parrot can be a distraction in combat to nearby enemies.

Anthony, an American sailor was also given a QUALITY of 4 and a COMBAT of 3. He had DOUBLE-PISTOLS a SWORD and was STRONG. This strength is a melee bonus.

Benoit Gaubert, a French swordsman, was a key part of the crew. Benoit was also given a QUALITY of 4 and a COMBAT of 3. He was also DASHING and armed with a RAPIER. His other attributes were SLIPPERY which would allow him to easily break off melee contact, and BLUR OF STEEL which would enable him to attack with additional actions in a given turn.

Keith Thomas, another Englishman, was the final member of the crew. He has a QUALITY of 4 but I could only afford a COMBAT of 2 and still have enough points to equip him. A MUSKET and a SWORD and a DAGGER completed his kit. He is also a HAWKEYE giving him a bonus on "aimed" shooting.

I spent exactly 200 points. I had a crew of five desperate men. The men were good enough fighters to be sure, but not the most motivated lot. I would have to keep Marten and Trevelyan near to keep the men moving.

So, how would I do? What are the details of Matt's crew and goals? Well, those questions will have to wait for the next installment!

Marten Hubrect

Trevelyan Hale

Benoit Gaubert

Keith Thomas

Anthony


Tuesday, December 11, 2012

Pirates! Part Two - The Goals


Before we get to the goals, in part one of the post, I gave a little backstory on the town of Donat. Now, let me tell you why our pirates were there! Our two bands of pirates where part of a ship’s crew that just lost their captain. In electing a new captain, the crew was divided into two factions, each supporting a different candidate for captain. So the two factions decided that the best candidate would be determined by the outcome of a raid on Donat. Each candidate would lead a shore party. Surely the best pirate would rise to the occasion and prove his worth of the captaincy!

Lastly, let’s talk just a tad about “Flashing Steel”. The rules are keyed to act on a system of activating models or groups of models – and – they do put an emphasis on leaders. Having leaders nearby is a great benefit in activating models. Once you know how many actions a model or group has (zero to three) you can conduct activities with those models such as moving, aiming, shooting, reloading, etc.

Also, the Song of Drums and Shakos rules (by Ganesha Games) utilize a selection of “special rules” to add flavor to the models for a particular period. The special rules for pirates are pretty sweet. Including such gems as “One Leg”, “Parrot or Monkey” and “Panache”.

In addition, they have a nice section on “Swashbuckling Maneuvers” and “Skill Checks” for activities that may require a difficulty resolution die roll (picking locks, climbing a rope, whatever weird stuff pops up in games).

As you may gather from the above, there is a lot going on and each model may have different statistics and special rules. Rosters are handy. I would say that a single player with some experience with the rules can efficiently manage a dozen or so models (maybe more). Fortunately, a pirate game is not one with hundreds of models on the table.

OK, onto the goals of the game! Here is the entire list of goals. OK, it is big and maybe readers don’t care to read the whole thing, that’s cool. You’ll get the gist of things pretty quickly. For me, I’d just like to have it documented here for the future enjoyment and recollection of Matt and me.

You will see some goals duplicated. This is because both Matt and I came up with the same idea. We just figured that goals on the list twice just have a greater chance of becoming player goals since the concept was so obvious.

Where goals have less definition, we thought we’d just figure out the details when and if it happened.

  • Steal the cow, take it off board.
  • Rescue the 2 pirates on the merchant ship.
  • Capture the merchant ship by having at least three pirates on board and no enemies.
  • Capture and adopt the tamed monkey on the dock. He’ll come if you offer food and pass a “difficult” test. Try as often as you like, 1 action per attempt. The monkey will now give the model the “Monkey” special rule.
  • It is rumored that hidden in a crate or barrel on the dock is a treasure map. To locate it you can try one “very difficult” task test per crate/barrel terrain piece at one action per attempt.
  • Pillage the upper floor of the tavern. (Admittedly, we did not define what “pillage” meant other than spending some actions to possibly locate valuables).
  • Pillage the lower floor of the tavern.
  • Pillage the upper floor of the house.
  • Pillage the lower floor of the house.
  • Capture the Mayor’s daughter (upstairs in the house) for ransom. You must move into “melee contact” and spend an action on a “difficult” task test.
  • Convince the prostitute to come away with you on your pirate travels. You must pass a “very difficult” task test but can only try twice! One action per try.
  • Capture a wealthy businessman in town for ransom. You must move into “melee contact” and spend an action on a “difficult” task test.
  • Toss a wealthy businessman into the outhouse. You must move into “melee contact” and spend an action on a “difficult” task test to subdue, then move at slow speed to the outhouse.
  • Steal cabbages from the garden for our provisions. Collect at least 4 cabbages at one action per cabbage to collect.
  • Steal corn for our provisions. Steal at least 3 actions worth of ears.
  • Kill the crocodile and haul it off table (presumably to our ship). The skin is valuable and the meat is tasty.
  • Rescue the pirate held captive by the cannibals. The guy in the pot is done for. The cannibals are friendly unless provoked and will defend their meal, so, you’ll have to attack them!
  • Hijack the wagon on the roadway and take it off board, but not off board via the roadway.
  • Purchase the native girl from the friendly natives near the dugout canoe on the beach.
  • Pay homage to Teach’s Bones. Go to the skeletal corpse exposed in the jungle.
  • Find and kill the panther that is stalking the jungle. You must “spot” the panther to be able to charge or shoot him. This takes an action as a “difficult” task test. The panther will charge attackers if the opportunity appears.
  • Steal the gold cross from the monk.
  • “Acquire” a fancy native shield.
  • Loot the native hut. Only a single attempt can be made in the game using a “tricky” task test. If that fails then you find nothing. This goal is a failure unless you find something of value.
  • “Acquire” a set of shrunken heads (many of the models of native warriors are festooned with shrunken heads on the miniatures! Awesome, thanks Old Glory!).
  • “Acquire” a business man’s fancy hat, and coat, and trousers.
  • Loot the captain’s quarters on the merchant ship.
  • Using the powder on the dock, blow up the dock!
  • Blow up the merchant ship by exploding the powder in the ship’s magazine. The ship is armed with 4 guns, surely there is powder on the ship!
  • Put the Mayor’s head on a pike at the gates to the town to repay an earlier offense to you.
  • Find a barrel of rum and haul it off to the ship.
  • The native totem in the jungle has bejeweled eyes – climb up there and steal those jewels! Obviously, the natives will not like this. No, not one bit.
  • Ensure that your gang of pirates kills a particular model in the other player’s party (randomly determine which one) to settle some score for a perceived slight against you.
  • Steal the gold cross from the monk.
  • Capture a snake and take the venom to the native witch doctor.
  • Take the merchant ship.
  • Take a rich hostage off the table.
  • Rescue the crewmember from the cannibals.
  • Get a panther pelt (by hunting the panther) and trade it to the natives for a “safe passage” token.
  • Recruit a new cabin boy for the crew.
  • Obtain a Letter of Marque from the officer at the table in the tavern.
  • Obtain fresh water for our ship.
  • Find the remains of the missing crewmember (the skeletal remains in the jungle).
  • Rescue captured crewmembers from the merchant ship.
  • Capture the wagon on the roadway and use it to sneak into town.
  • Obtain the cargo manifest from the dock master and sell it to the captain with the spyglass on the beach.
  • Escort the missionaries to the friendly natives on the beach.
  • Convince delinquent children to steal cabbages for the crew.
  • Relieve the drunken man of his pan-wielding female accoster.
  • Have the smith repair your pistol.
  • Obtain an incriminating rumor about a local dignitary.
  • Sneak into the merchant ship captain’s cabin and steal his map.
  • Rob the house.
  • Rob the tavern.
  • Obtain native masks and trade them to the crew of the visiting merchant ship.
  • Ensure the safe passage of the wagon into the town’s gates.
  • Find buried treasure in the jungle.
  • Kill the Captain of the Guard, he’s rumored to be a badass.
  • Kill the Mayor, he dresses funny.
  • Capture a rich citizen and trade him/her to the cannibals for the captured crewman.
  • Substitute a pirate for the real night watchman.
  • Free the governor’s slave – he can sign aboard our ship!
  • Burn the town to the ground.
  • Burn the native hut.
  • Kill the cannibals.
  • Bribe the dock-master.
  • Capture three female characters.
  • Find the hidden clue in the skeletal remains and follow that clue to buried treasure on the hilltop.
  • Steal a boat and take it off table.
  • Obtain a weather prediction from the captain with the spyglass on the beach.
  • Recruit a disgruntled sailor into our crew from the crew of the visiting merchant ship.
  • Feed the Mayor to the sharks.
  • Rescue the farmer’s son that has been impressed as the cabin boy on the merchant ship.
  • Arrange a secret rendezvous with the Mayor’s daughter. She likes dangerous men!
  • Take a chest or strongbox from town and bury it in the jungle after marking two trees as clues.
  • Arrange for the missionaries to be eaten by cannibals.
  • Take a chest or strongbox from town and bury it in the jungle then kill all your crew that knows of its location.
  • Retrieve the barrel of run floating by the dock.

       As you can see, not all of the goals are “rooting, tooting, shooting piratey” actions – some require subtlety and perhaps the division of your little command of pirates. Some are just way out there.

We each had a minimum of three goals, but could take more. We each took five goals! We did not tell each other what the goals were until after the game. So, if we both ended up with some identical goals, then it would be harder to accomplish those and would create points of conflict amongst our model pirates!

We figured that at the end of the game we would talk about the goals we each had, their difficulty, and how we did in trying to accomplish our goals. Not there would be a “winner” necessarily. We don’t care about winning and losing – we care about the spectacle and the enjoyment and the creativity.

In the next post, the pirate bands and what happened!

Dangerous Waters

Looking for tasty pirates


The town on the sea


Saturday, December 8, 2012

Pirates! Part One - The Beginning

The Sunday after Thanksgiving was consumed in part by football and in part by pirates! I downloaded "Flashing Steel", a set of pirate skirmish rules from Ganesha Games. We enjoy the "Song of Drums and Shakos" rules very much - so I figured what the hell, let's try these.

So, Matt and I sat down to play - but, having been drinking (what? isn't it a law that you have to be drinking while playing pirate games?) we got creative. We decided that we'd set up a table full of terrain and people, then we'd make up little goals that we would have to accomplish.

We set up a beach area, with a fledgling town at the beach. Anchored just offshore was a merchant ship. The town had a dock, two buildings and a partial stockade. Outside of the stockade was a strip of cleared land that contained a few farm plots. Beyond the cleared land was the jungle. Cutting through the jungle and into the town was a road.

OK, terrain is set up, let's populate the area with people and things. We tried to be very detailed in everything to help our goal setting. So we used a ton of items, the buildings even had some furniture. Here are some highlights of the terrain set up, there were many more details present...

  • On board the merchant ship, two prisoners were being held. Presumably they were captured pirates.
  • The coast of this area is shark-infested, so swimming to the merchant ship would be perilous.
  • Most of the merchant crew was in the town carousing with the few locals.
  • The dock was loaded with crates and barrels of all sorts, including run and powder. One of the crates even had a monkey on it eating a banana.
  • A couple of businessmen were on the dock discussing, well, business.
  • A small launch from the merchant ship was at the dock.
  • A grenadier was on guard duty on the dock.
  • A drunken seaman sat near the dock on a barrel being harassed by his frying-pan-wielding wife.
  • Farm workers in the fields.
  • Cannibal natives with a couple of prisoners ready for the cooking pot.
  • A prostitute advertising her services from the balcony.
  • The gate to the town guarded by a couple of pike-armed militiamen.
  • The stockade patrolled by a couple of regular soldiers.
  • Missionary monks off to call on the local natives.
  • A small wagon heading down the road back into town.
  • A crocodile living in a small creek.
  • The skeletal remains of a long lost pirate, somewhere in the jungle.
  • Native totems.

People on the board included the Mayor, his daughter, a night-watchman, the Captain of the Guard, the guardsmen and the militia, the Christian missionary monks, wild and docile natives, prisoners, a prostitute, various businessmen and other civilians.

Here are some images of the town and the surrounding area:


After creating the table, we needed a bit of a back story for the setup. Here is what we crafted: "Being visited by the French merchant ship 'Seraphin', the town of 'Donat' is just beginning to place itself on the map of French settlements. Befriending the nearby natives with trinkets, despite their apparent cannibalistic tendency, the town has begun to build. Although small, the Mayor and his people have faith in the stockade and the small military establishment, to keep them safe enough for now."

Then we looked at all we did and silently began to write out the goals. The idea was that each of us would take on a minimum of three goals, but could take as many as desired. The goals would be randomly determined and kept secret from the other player.

So we made a list of 78 goals! I made 33 goals and Matt 45, wow! We could have done more for sure, but, hey, we wanted to play! The goals vary from ridiculous to ridiculously simple to multifaceted goals.

The next post will detail all of the goals!


Friday, July 6, 2012

Eastern Europe, Summer 1944

My friend Matt and I threw down another 28mm WW2 game on the 4th of July - and - this time another friend, John, joined us. We continued to experiment with the SDS/LBSDS engine for WW2 Squad-level actions. This battle did not have a particular plan in so much as the idea was to toss everything out onto the table and experience mayhem and chaos and as many rules as we could.

Matt

John (and Buddha)

Before Matt and John arrived, I created a battlefield for us. The table is about 8'x5'. I created two uneven and hopefully interesting deployment zones for the forces. I randomly rated the quality of all of the units in both sides.


Viewed from the Soviet Deployment Zone


We randomly determined sides, via die roll. I ended up with the Germans and Matt and John with the Soviets. We then allowed the Soviet player to place some defenses on the field, anywhere on the field that was not in the German deployment zone. Some wire fences, sandbag positions and four small minefields were placed. When placing a minefield, they had to mark it (secretly) as either "anti-personnel", "anti-tank" or "mixed". We did not use any "dummy" minefields this day.


On the German side were 28 units and on the Soviet side were 26. This gives each army a break point of 14 and 13 respectively. We deployed units somewhat randomly, via a die roll, where the loser would have to place a command on the table. The Soviets ended up with the bulk of their units deployed before the Germans had to place too much, so deployment fell into the German favor.


Then we got down to the fighting. Various things went well for both sides, each of us experienced some joys and some frustrations. A particular frustration for me was that the Panther section was rated at a "2" (poor) and I did not get to involve them as much as I desired. A particular joy for me was the Puma section, out-classed by the T-34/85, managing to get 2 DIS on it! The Puma soon met the presumed fate however, but went down gloriously to some  Soviet infantry (and in the process exposing them to galling fire from supporting German infantry.

I know the Soviet players cheered the destruction of a section of Tiger I's! The Soviets also did a great job with the wire and the minefields, they totally prevented an assault directly into the larger town. Also, the Soviets had an armored car section (armed only with a machine gun) that survived against long odds and totally disrupted the activities of a German infantry platoon.


My panzergrenadiers did pretty well in a last ditch attempt to salvage the battle, but it was tool late, I did not well-handle them and they arrived just after their armored support had already been ravaged. I tried to do too much in too many areas of the field - mediocre everywhere and powerful nowhere.

The Puma Scores!

Later, the Puma is about finished...


The Famous Soviet Armored Car!

PAK-40 Support moves thru the woods

Soviets take the larger town

Panzergrenadiers in a last-ditch effort
We'll continue the experiment further. We really enjoy the reaction mechanic and the uncertainty that SDS delivers. The game play seems to promote infantry-armor cooperation - which we think important. Tanks are not unstoppable behemoths, if you don't support them with infantry, they are vulnerable to enemy infantry and guns.

We played four complete turns, which had the game 90% decided in terms of breakpoints, and then barbequed burgers and brats and relaxed for the remainder of the evening. When we called the game, the Germans had a breakpoint score of 12 (2 away from losing) and the Soviets only a breakpoint score of 2 (the Germans were not lucky at all this day). I don't know how long we actually played - we were consuming delicious beer and we Skyped in my brother so he could say "hey" and see the game and interact with us for a while. I saw on another person's blog that he has played a couple of games via Skype. I wonder if that is worth a shot with Ben?

Monday, March 19, 2012

Song of Drums and Shakos - Old West Skirmish

We have been enjoying Napoleonic skirmish games of Songs of Drums and Shakos at the club meeting. And, recently, we played a game of the SDS "large battle" Napoleonic rules - which were pretty cool. In fact, these rules prompted me to take a couple of their features and slap them into normal SDS - and go all "Cowboys and Indians" with it!

Namely, I enjoyed the concept of "unreliable" troops who roll an average die when testing anything against their Quality rating...and...I liked the concept of activation failures giving the enemy an opportunity to "interrupt"! Also, we used a variation of the "Approach" rules for charging into melee.

So, my good friend Matt was over on Sunday and we threw some stuff on the table and gave it a try...I laid out the newly arrived Texas Ranch House from Miniature Building Authority and 6 civilian defenders. Attacking the homestead were 16 Apache warriors. Arriving at an unknown time would be 5 mounted U.S. Cavalrymen. We set up a wagon, a fenced in area and threw down many rocks and patches of grass and cactus to provide the Apaches with some cover out there!

A couple of the Apaches were armed with bows, and another couple only had tomahawks. Four of them were armed with captured cavalry carbines and the remainder were armed with repeating rifles (darn those unscrupulous gun traders!). One Apache, the Leader, was mounted. Two of the Apaches were designated as having Quality 3 and Combat 3 while the remainder were Quality 4 and Combat 2. Three of the Apaches were "Unreliable".

The six cowboys were all Quality 4 and Combat 2 except the Leader who was Quality 3 and Combat 3 - we called the leader "John Wayne" since the miniature is very much like the Duke! Five of the men were armed with repeating rifles and one was armed with a buffalo rifle.

The 5 cavalrymen were all Quality 4 and Combat 2 except the Leader who was Quality 3 and Combat 3. All were armed with single-shot carbines, revolvers and sabres. The four troopers were "unreliable" too (so, really, their Quality was variable).

The battle was great fun - the unreliable stuff was a hoot and the opponent being able to steal portions of the turn to interrupt was really fun and effective! In fact, the first loss of the game, a cowboy, was caused because of a failed activation that gave an Apache a shot!

In the end, the cowboys held out - the cavalry was almost worthless in this fight: they arrived much later than I hoped and just could not do much right other than look impressive on the mounts and cause the Apaches to move away. John Wayne was awesome - in many thrilling exchanges I think he took out like 10 of the Apaches himself!

The Apaches did manage to break into the house and kill three of the cowboys and also killed or chased off all but 2 of the cavalrymen. But the house held (in large part to John Wayne's excellent luck that day)!

Looking forward to the next attempt!


The Duke (Center)