There were six players. Myself, Greg C. and Greg R. on the French side and Terry, Chris and Ed on the British/Spanish/Portuguese side. Yes, this was a Peninsular War battle.
The forces in the battle were essentially even in size, the French had 1 more Army Morale Point and I think 1 more unit that the Allies. The French forces appeared to be of decent quality scanning the ratings. I really don't know much about the Allied quality except that the Spanish were not well rated. The Rifles and Highlanders were so I presume that the overall rating of the Allied force was respectable as well.
We began by using the Fate and Command rules to produce some variable conditions for the battle. From these, the French were able to gain some deployment advantages in terms of positioning on the field and a redeployment option of one command. Obviously, in terms of miniature history, Allied inactivity and French reconnaissance conspired to dictate these conditions. The only other condition to come from this was that the Spanish troops were delayed in arriving from the field. Perhaps due to incompetence in their command orders were not acted upon in a timely manner (in fact, the Spanish forces would never arrive at the battle).
So, after the deployments were completed, with a large French force aggressively deployed in the center of the table, supported by a grand battery - the Allied players seemed pessimistic about the pending course of the battle. Especially when reminded that a handful of Spanish units have not arrived at the field.
So, it was not with Allied enthusiasm did we begin the battle. However, the plans of generals are often dashed by events on the field - and this was to be the case with the French.
 |
| Battle Plans |
Winning the initiative, the French began flipping cards. The first two cards were Leadership cards. Ouch. We're not going to be able to do much rallying of men in this first turn, we better make each action count! God forbid we should lose a commander to enemy action too!
Next card...Move. Excellent! Onto the attack! The center surged forward (except for one blundering command), the reserve for the center began to swing into position - aggressively advancing in march columns. The British and Portuguese began to shoot at the advancing French center, some losses were caused, but that is to be expected!
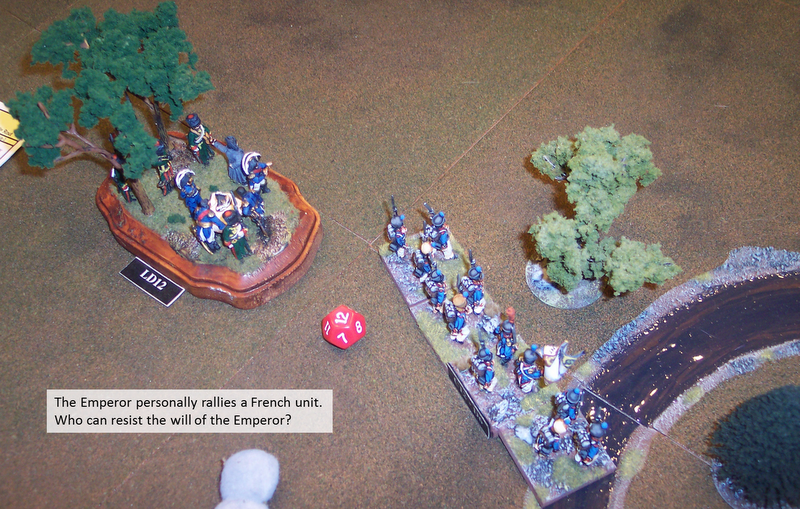
Next card...Army Morale. Ok, we've lost only a couple chips, no worries there. Let's check for commander risks. That's when it happened. The best French combat commander on the field, leading the largest infantry brigade in the main attack was killed! Crap! We have already burned 2 Leadership cards and have 95% of the deck still to go through!
Before the battle, the Allied commanders where thinking about how to write uplifting reports on a defeat of arms. Now their hearts were uplifted by the misfortunes befalling the French! Oh, and it is their turn now too!
Move One Command. The British flankers move out towards my columns of infantry moving to form the reserve of the center. Ok, cool, as long as they don't get another move card drawn. Next card? Yep. Movement.
The British crashed into my forces while still in column, easily routing them. Over the next few actions sequences, only one of my three regiments was able to put up any fight, but it was soon routed. Now, my aggressiveness (and excellent British leadership, Chris) has caused me to lose the reserve for the main fight...and the French center is exposed.
In my command were two French cavalry units marching with the center - hoping to be used as the mass of decision. I had to divert them towards the crumbling flank to try and stabilize it. I was able to do so over the course of several action sequences, but at the cost of good troops NOT advancing with the main force.
During this time, the center plowed ahead and was involved in a very difficult fight. Greg R. really did a good job. With his best commander killed and that command stalled and the loss of the supporting cavalry he still managed to advance and drive in the Portuguese. Harassed all the way by Ed's British that invested the town, there were many French losses. Morale chips flew away from both armies.
Near the end, we had 1 remaining morale point. We caused some losses on some British and drained their points, earning us 2 points in the process. Shortly thereafter, the British drew an Army Morale Card and with no points remaining lost the die roll and ended the battle.
What a great battle and a great gaming experience. Looking at the fight in the light of the next morning, I think that the British won that fight. Sure, they had to retreat from the field, but look at what was accomplished:
1. They were outnumbered since the Spanish did not arrive for the battle.
2. The French had a large and aggressive advanced deployment - with a grand battery - and a local advantage in numbers.
3. They fought the French to a complete standstill.
Good job guys...onto the pictures...